Pre-Cruise

March 14, 2018 Pre-Cruise 0 Comments

Lee Cloth

LEE CLOTH PROJECT

Safety First!

Often on longer passages, we will have one crew down below trying to get a couple hours of sleep while the other is on watch. The V-Berth is great at anchor but a little bouncy and hard to get in and out of on passage. Our quarter berth is really more of a closet at this point, so we needed to make a lee cloth to hold a person in one of the salon berths. These are relatively narrow and you cant be rolling out onto the floor everytime the boat rolls!

We dug out the trusty SailRite sewing machine again and Celia set to work. We used a breathable pfiefer-tex fabric that would be sturdy but soft-ish. This simple piece of fabric will keep us safely sleeping and secure in the salon berth. This way you are also easily able to react if something is amiss topsides. We have broken down and purchased the somewhat expensive tools needed for punching holes, making snaps and grommets, etc.

For attachments on this project, we put six conventional snaps under the cushion (photos to be added) to the bottom edge in place. We used the existing hand rails on one end with a simple strap, and through-bolted a little piece of hardware into the nav table for a clip to secure the other end.  Once we had all the equipment and hardware together, this project was finished in a day!

March 3, 2018 Pre-Cruise 0 Comments

Radar Post and Engine Hoist

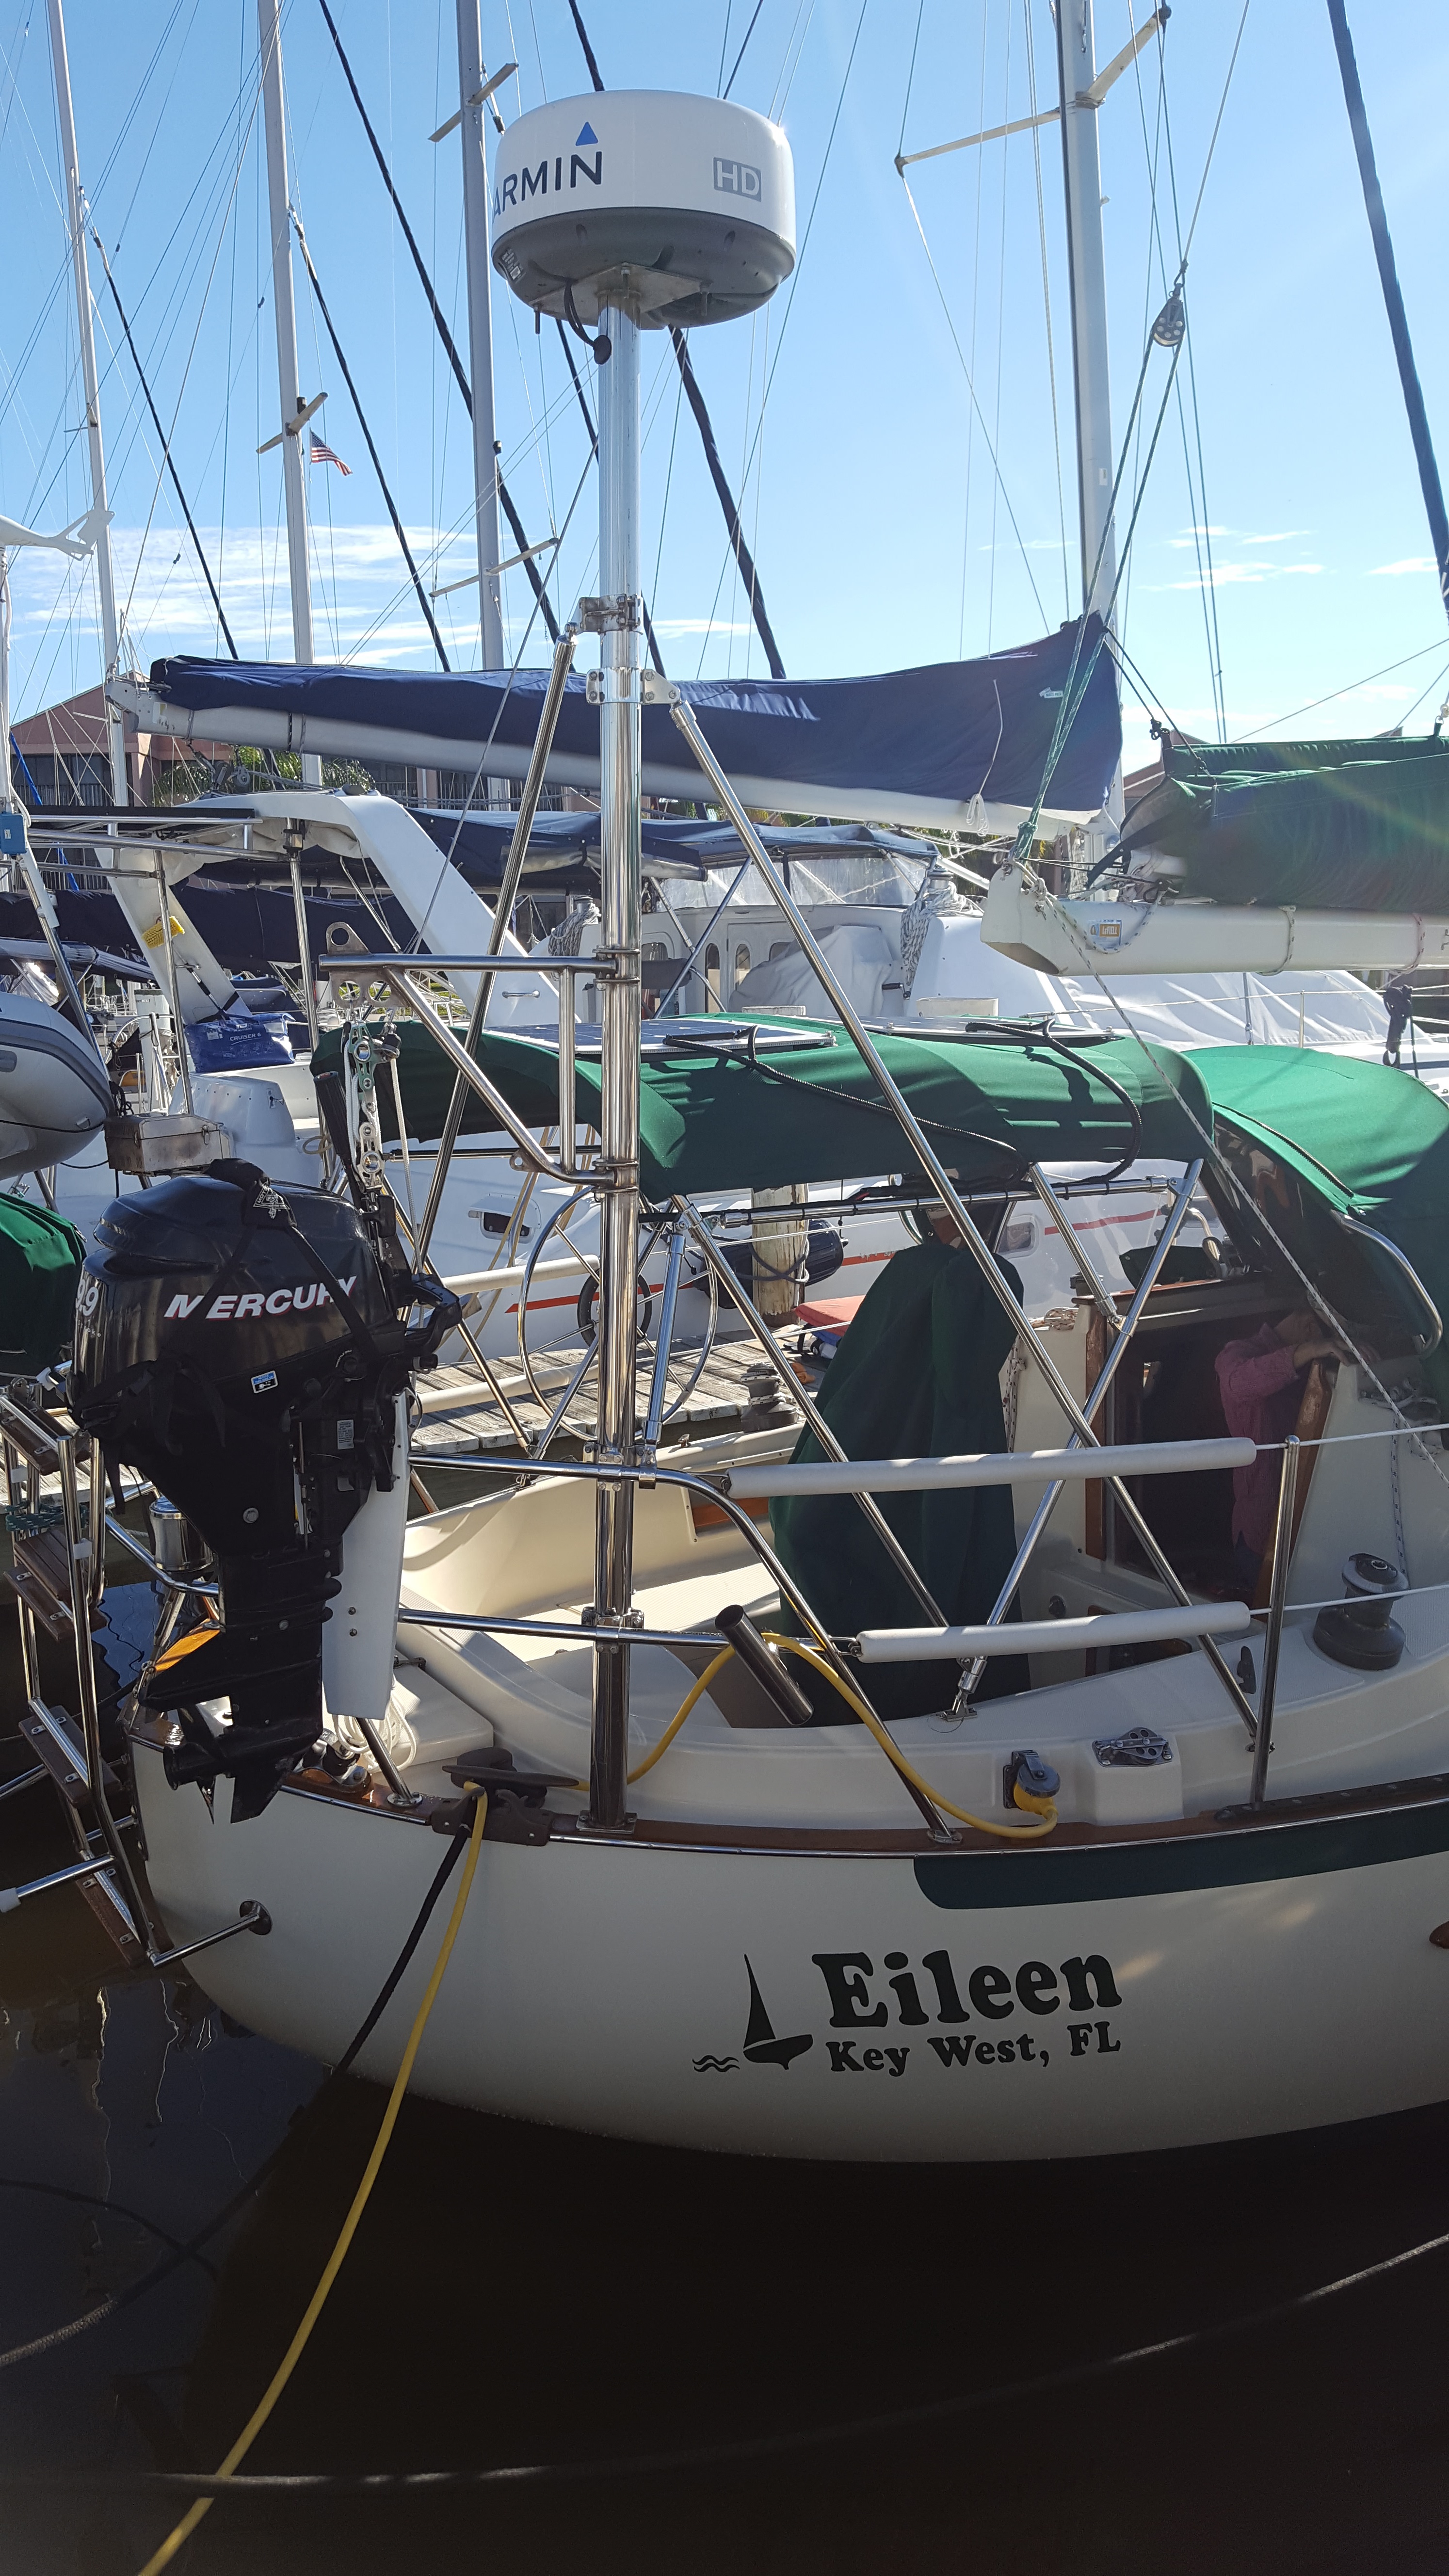
One thing Celia and I most enjoy about boat life is exploring in our dinghy. When we bought the boat, it came with an older but very nice aluminum AB 9.5 ft. dinghy.  It has a nice V-hull, is lightweight for its size, and has high quality construction with hypalon tubes. Although we thought we would downsize when we stopped living in a marina, as we have no davits and would want to stow it on the foredeck for any open water crossings, the fact is we could not bring ourselves to part with it when the day came.  Having a high speed dinghy capable of taking a few waves means more snorkeling, mangrove exploring, and ease of getting to shoreside facilities.

With the decision to keep the dinghy came the need to keep the 9.9hp four stroke engine we had. It weighs 85 lbs. Unfortunately, we had no way of getting such a large engine on and off the dinghy for stowage on the rail. Additionally, we had purchased the Garmin package deal on a chartplotter/radar combo a few years ago and had never installed the radar.  Truth be told, I might have skipped the radar for our current plans as they stand now if I had it to do again and used that money elsewhere.  My only real use for it so far has been on night passages to determine the distance to fishing boats and ships, etc. (which is a good thing). But I digress…

This project involved a lot of planning due to limited space; and in the end, I still screwed up one of the simplest measurements because I estimated (guessed) instead of actually measuring. I wanted to keep with all the other hardware on the boat and stick with stainless steel for this project. Again in hindsight, I may have gone with polished aluminum if I did it again due to weight issues…a 2 1/2 inch diameter 8 ft. stainless tube weighs a lot! All of that said, the finished product came out awesome.

Two 1″ SS struts were added for stability. Hardware was sourced from Garhauer Marine. The two upper attachments basically clamp on the big tube and the lowers are adjustable swivel mounts for the 1″ tube so that the angle and attachment point is adjustable.

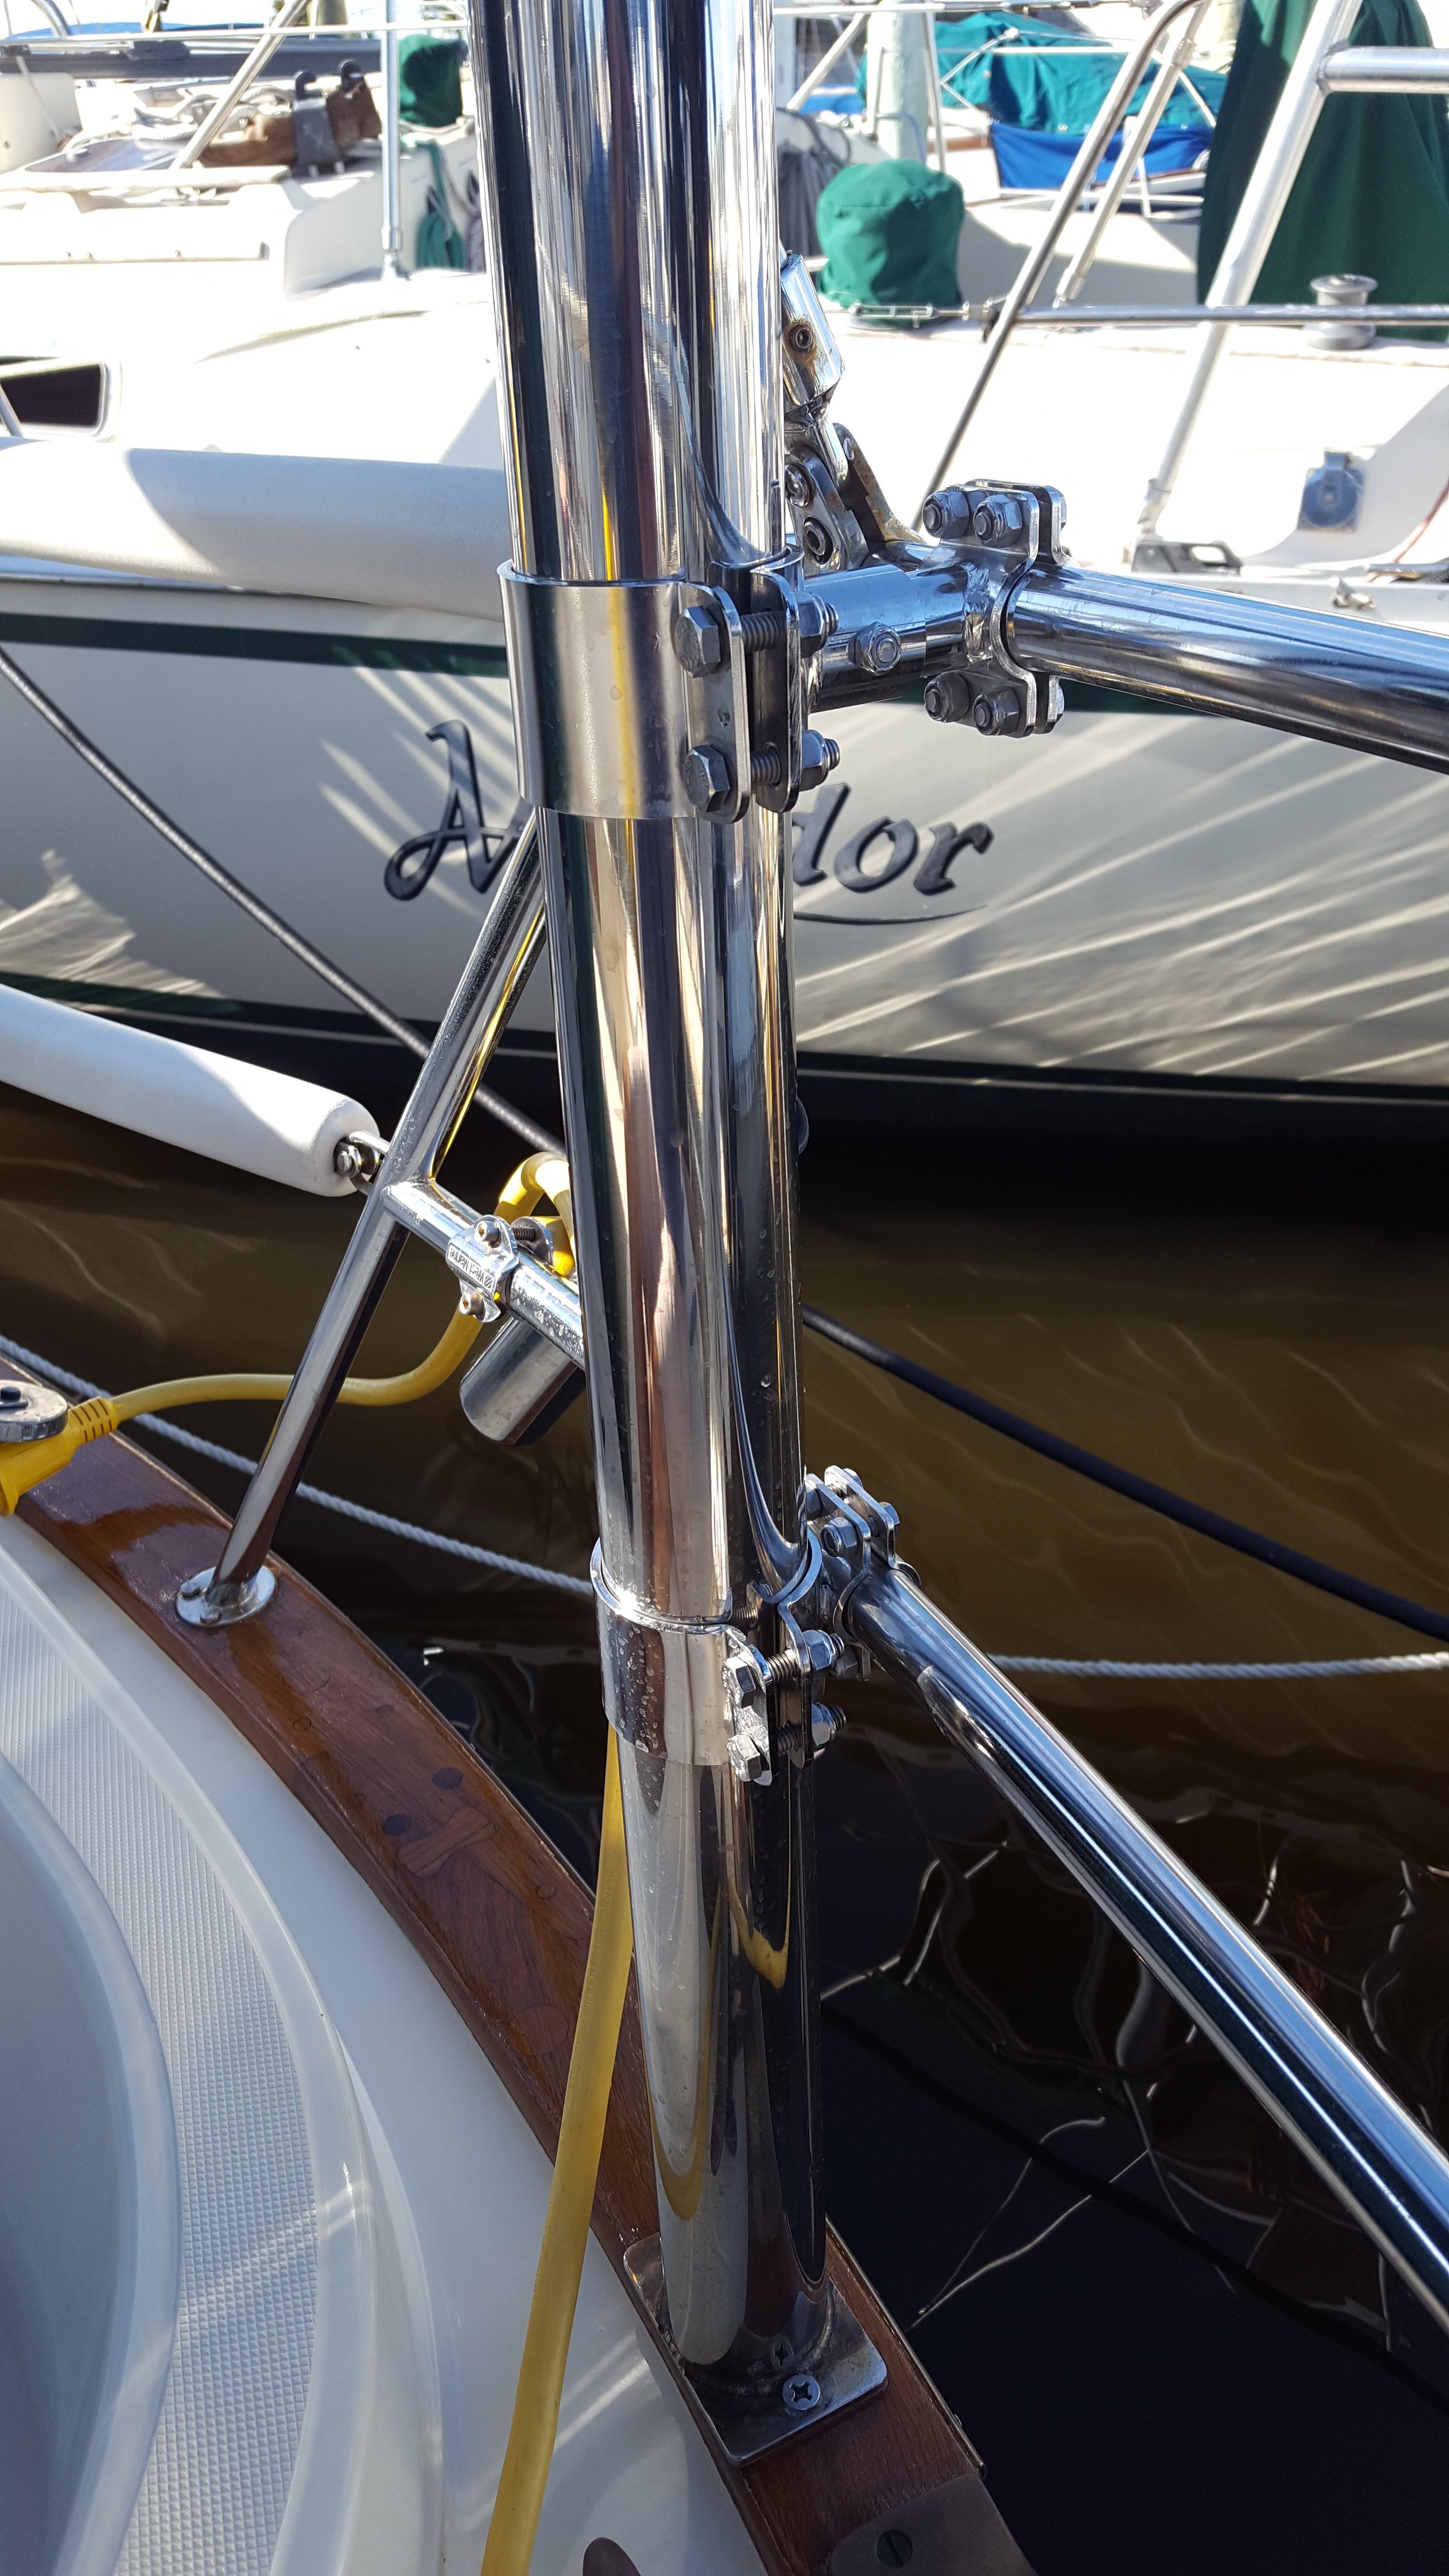
These rail standoffs were also necessary to reinforce the stern rail and add stability for the post.

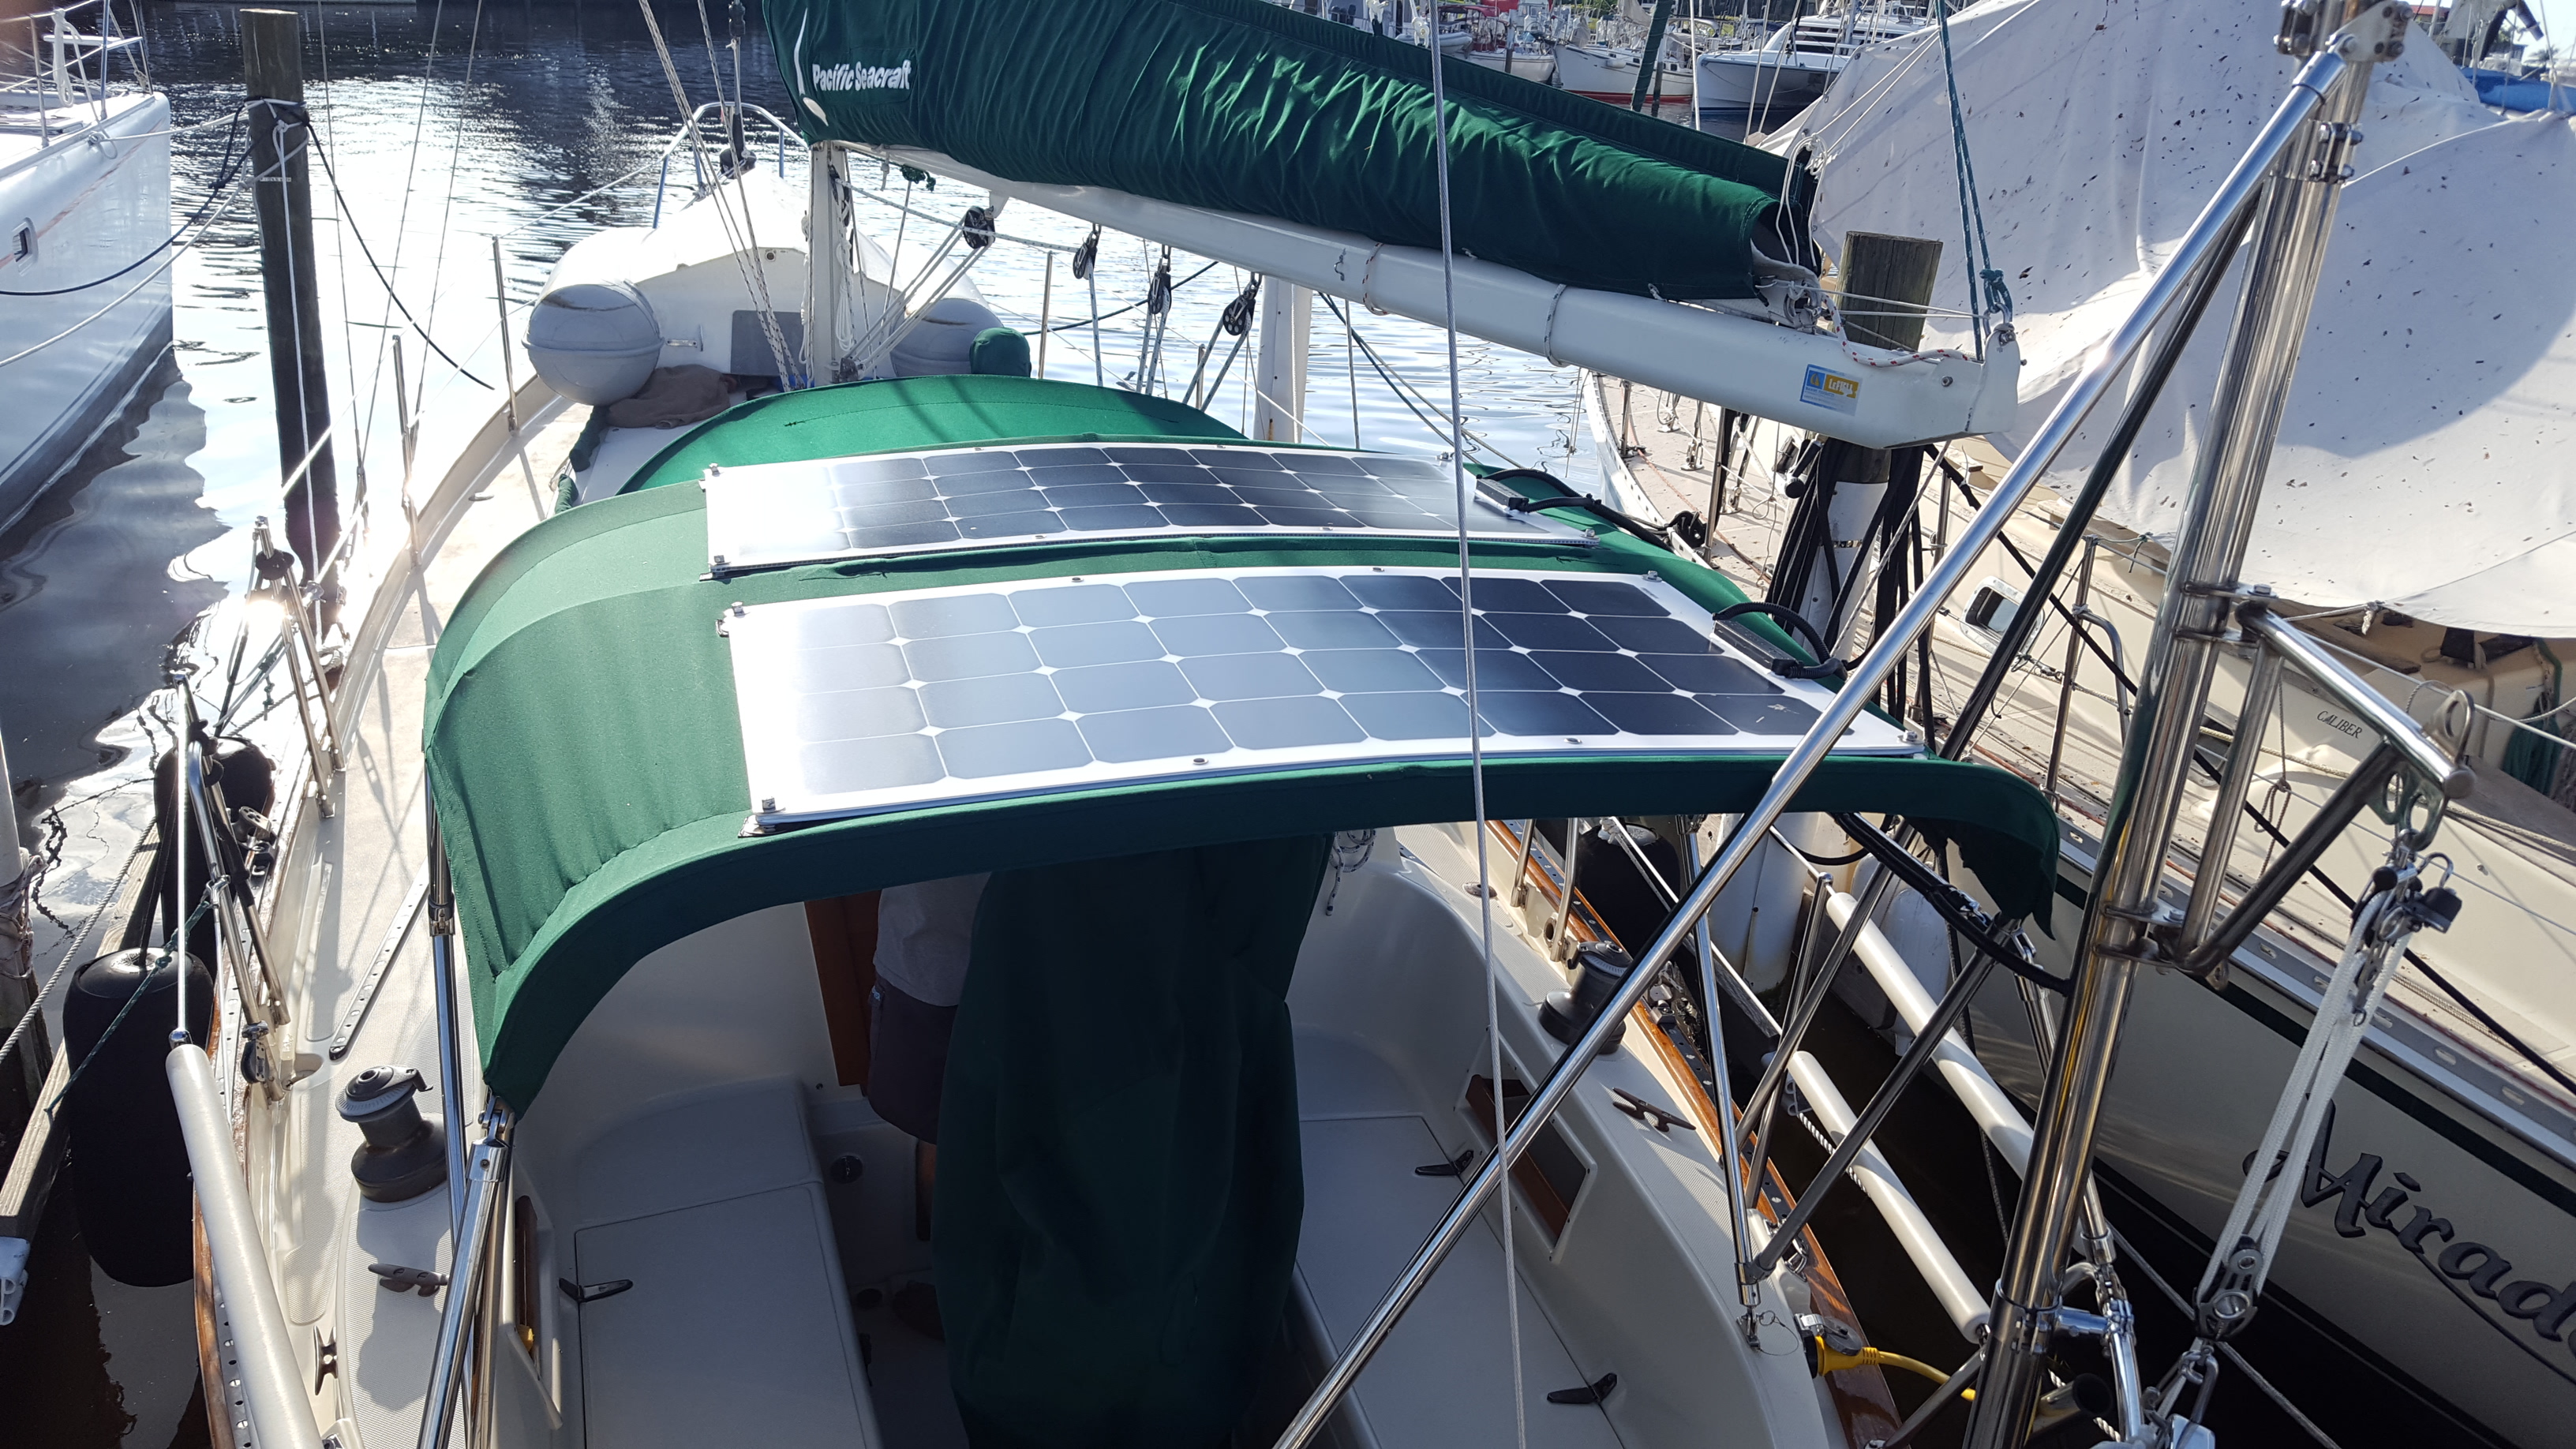
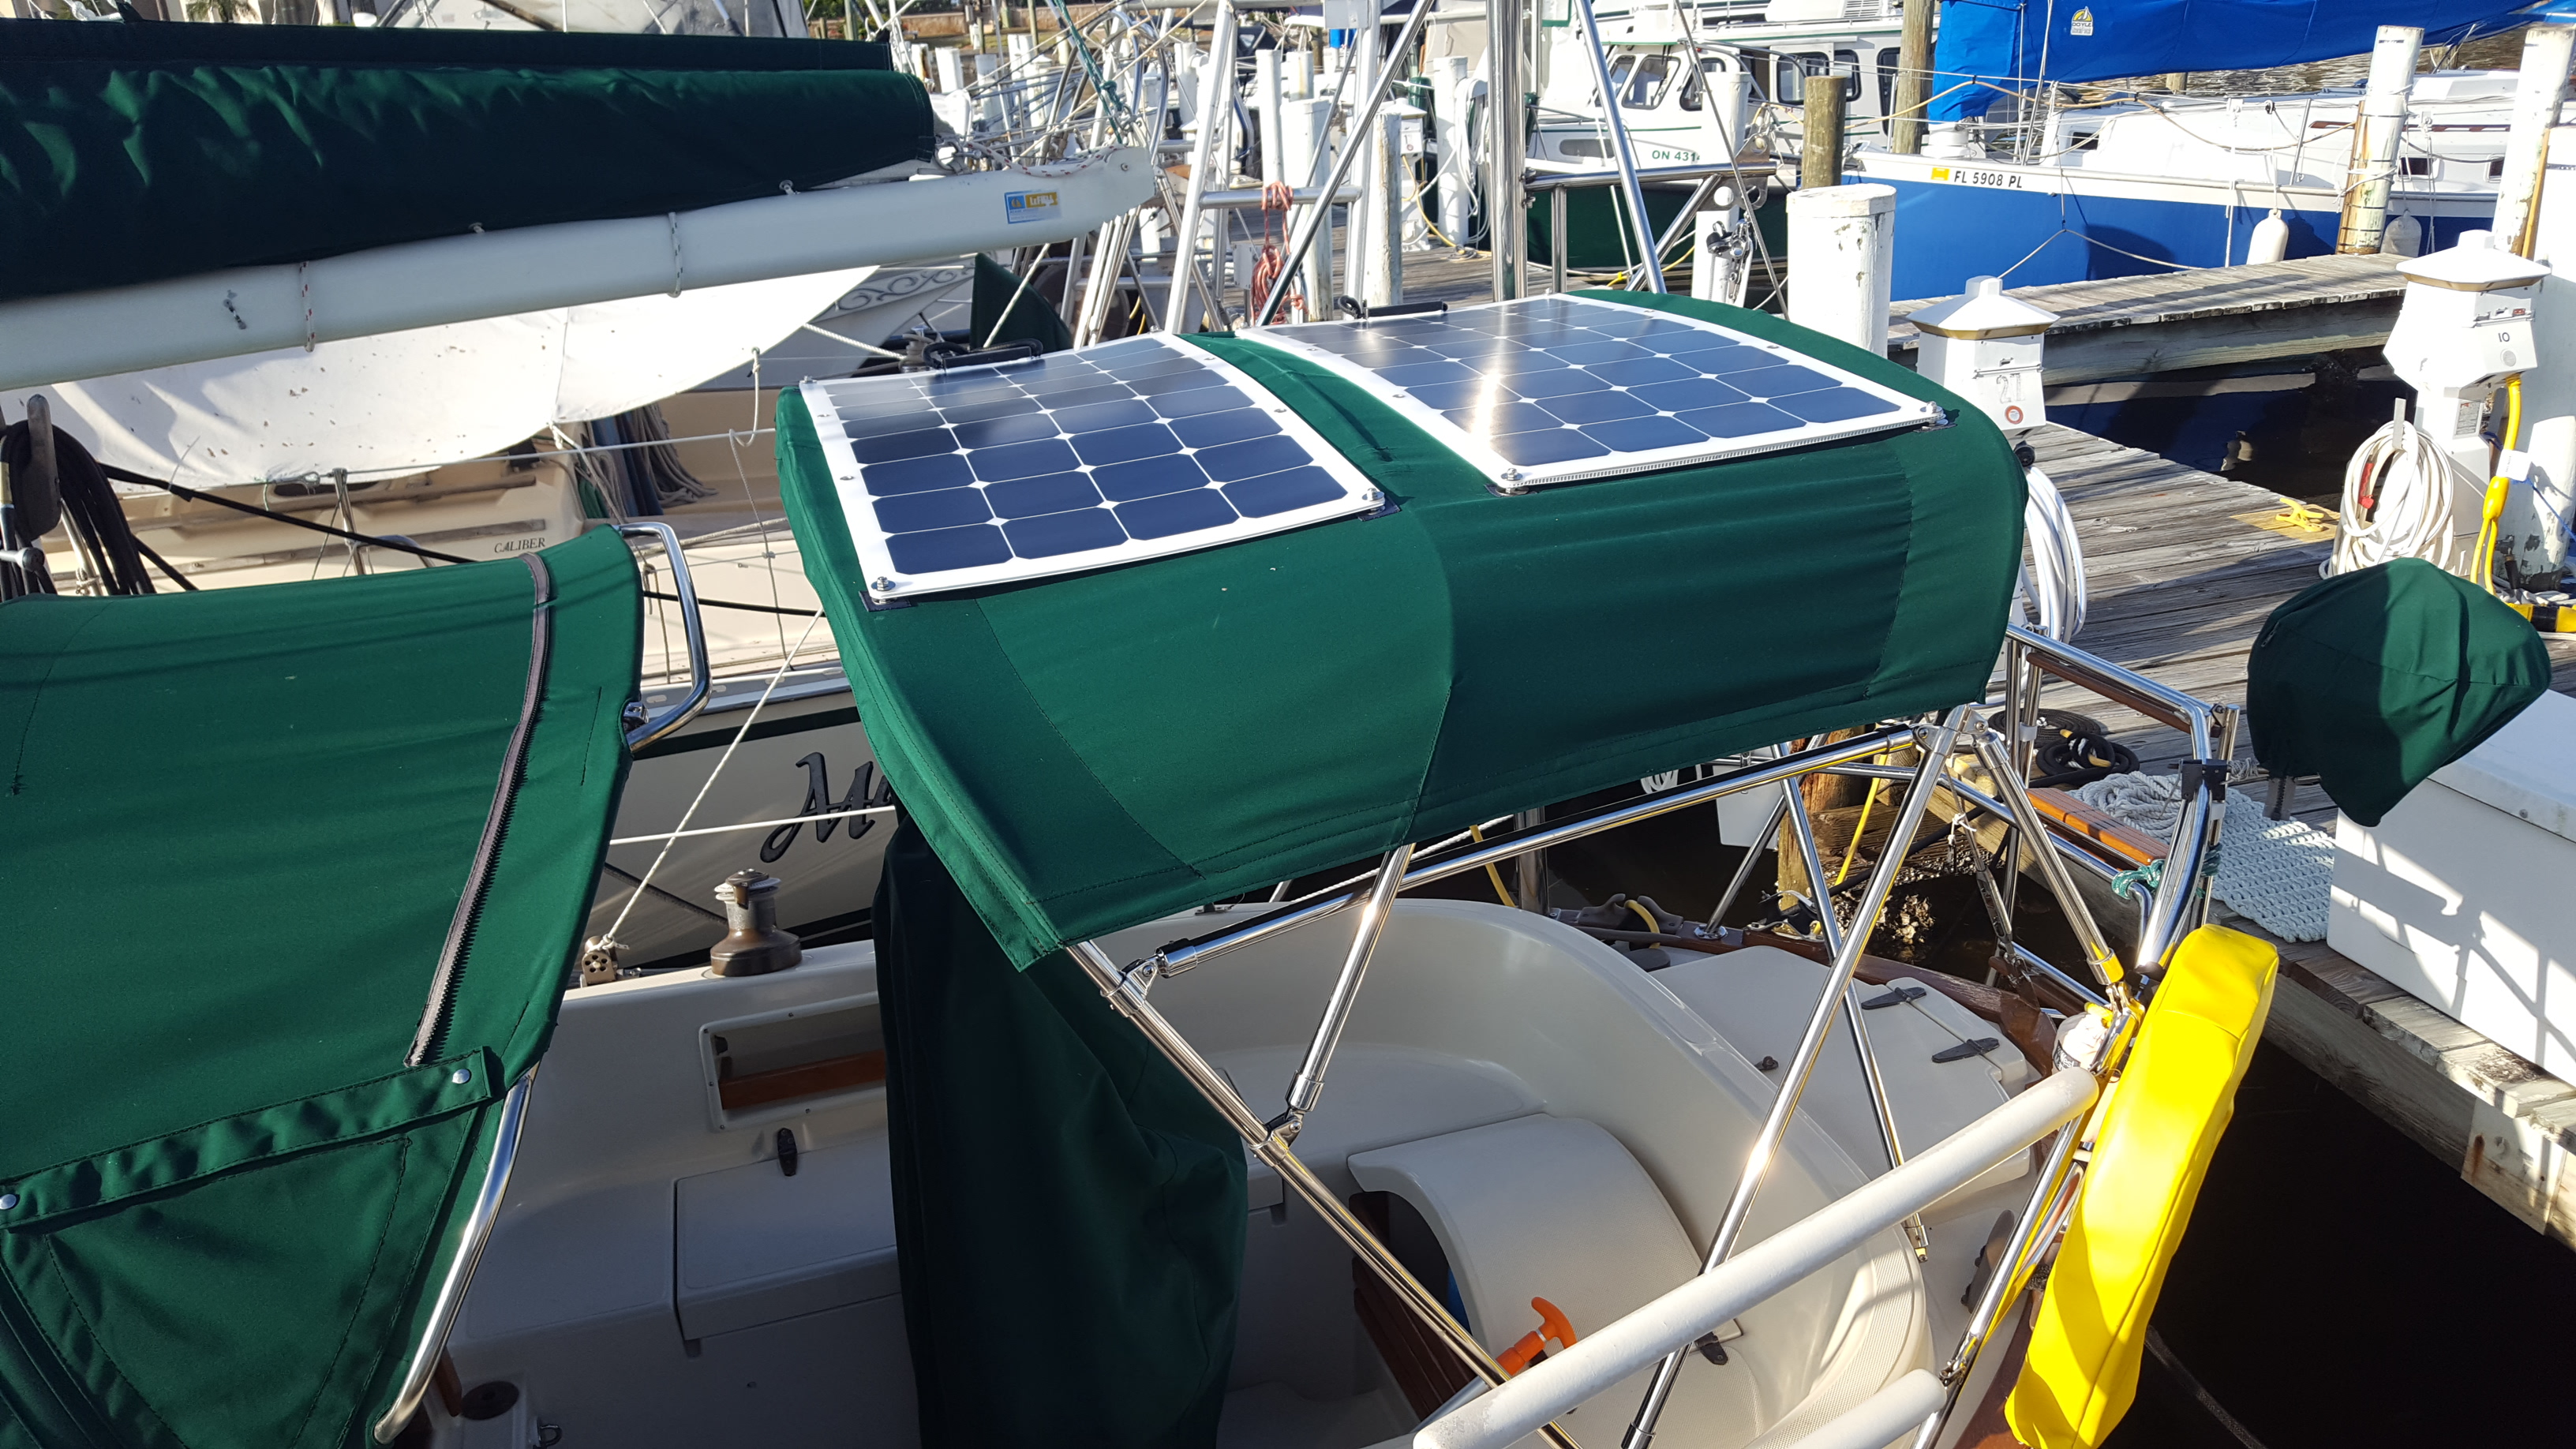
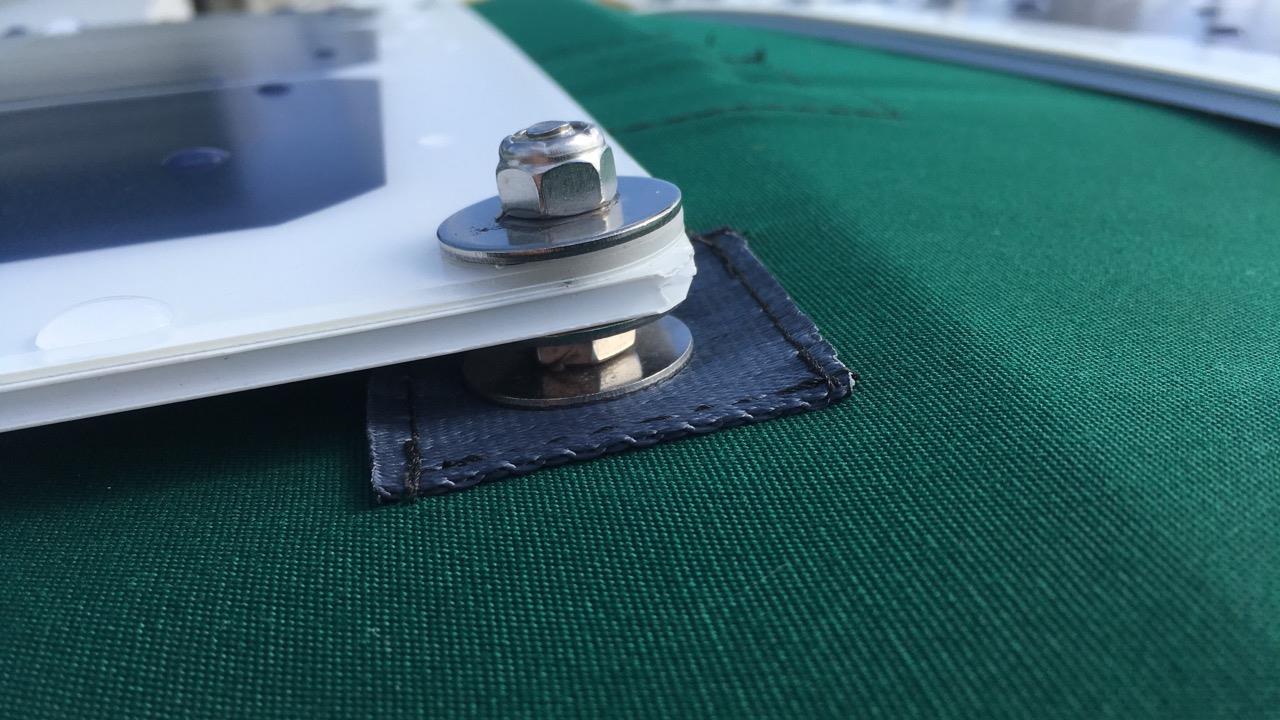
There was no room to spare anywhere so we hunted down hardware that worked for us. The base could probably have used 4 screws instead of 2, but there was not much room to play with under the cap rail. Each 1/4″ screw got its own little backing plate but I wish it could have been one larger one.  All the other supports make it a pretty sturdy rig all in all. We drilled holes for the radar wiring to run through the post and ended up running the wiring for the solar panels through the post as well.

Adustable pivoting mount closeup.

We wanted this thing to be bulletproof so we had the outboard engine hoist arm custom fabricated too and had the mounts for that welded directly on the post. Of all the difficult measurements and spacing, this is where I screwed up.  I had neither the motor or the block and tackle and engine strap when I chose how high the arm needed to be.  I made it too low! I was either going to need a tiny block and tackle system or to reconfigure the arm.  This was going to be a costly mistake! I ended up having my welder reconfigure the arm. It caused me to invent a new saying: “Measure twice, PAY once!”. I will update this post with a picture of the new arm as time allows. Any questions about this or other projects, please feel free to contact us!

February 22, 2018 Pre-Cruise 0 Comments

Solar Panels

As we began thinking of outfitting Eileen for extended cruising, we knew that we wanted some kind of supplemental power in the form of solar panels. From everything we had read, solar seemed easier, more cost effective, more efficient and simpler. We are pretty frugal energy users at anchor with our biggest draw being our old Adler Barbour refrigerator which draws about 6 amps when the compressor kicks on. We saved this project till the end of our “refit”, as the technology and prices seem to evolve almost monthly.  Unfortunately, this also meant we were feeling the money pinch more and did not want to spend a fortune on solar panels.

Eileen is very limited on space, so we decided to see what we could get that would fit on the bimini, as this seemed the easiest and most logical mounting point. After doing some research, it seems like to get the most energy for the size of the panel that most experts recommend buying panels with Sunpower back wired cells. Most experts also seem to believe that rigid panels will hold up much longer in a marine application. Due to the clearance between the boom and bimini, we were in the market for thinner semi-rigid/flexible panels.  The most popular brands for perceived quality that use genuine Sunpower cells seemed to be Solara and Solbian. However, we got sticker shock and decided to dig deeper.

We were referred to a small independent business called Hotwire Enterprises. I visited and consulted with this husband and wife team at their combination home – mad scientist’s lab – workshop near Sarasota, Florida.  They were amazingly knowledgeable and gracious and invited me to share the slow-cooked ribs which they had been preparing in their solar oven in the back yard. I stayed for lunch and home-made iced tea and then we went out to the shop.  I left with two 100-watt Powerfree semi-flexible panels with knock-off Sunpower back wired cells for about 1/5th the price of the more pricy name brand options. Time will tell if they hold up as well, but I was assured that he has been selling these panels for years with excellent results.  I paired them with a single Victron 75-15 MPPT Controller.  Wiring ran from the bimini into my existing radar post (see RADAR POST project) and through the engine compartment to the batteries.  Eileen carries two 4D West Marine AGM house batteries for a total of 396 amp hours, and one Group 27 AGM starting battery.

Celia and I generally end up using about 35-45 amp hours in a 24 hour period at anchor.  Of course this can change if the fridge compressor comes on more frequently in the summer, or due to other factors and needs as we get further from “civilization”. We have switched all interior and about half of our exterior lights to LED. These panels have performed great at anchor in sunny weather where we went up to a week without running the engine to top off the batteries. I will update this post with more and better specs and results as we go along.

Celia is the proud owner of a Sailrite sewing machine which has doubtless paid for itself many times over.  We reinforced the bimini canvas with webbing on the Sailrite and made our own custom mounts for the panels. We also added a layer of corrugated plastic under the panels for added stability. The panels can be easily removed in about 10 minutes. So far we are happy with all aspects of the project and will update our findings as we go!  Please feel free to contact us if you would like to know any more about this project!